
 Fall Gift Tag Bundle: 3 Printable Thanksgiving Designs
Cookies
Crusted vs. Bone-Dry: The Ultimate Royal Icing Edible Printing Test
Oct
This post contains affiliate links. If you buy through them, I may earn a small commission at no extra cost to you — thank you for supporting Cottage Baker Supply!
If you scroll through any cookie decorating forum, you will hear the exact same standard rule repeated over and over: ‘You absolutely must let your royal icing dry completely overnight before running it through an edible printer like the Primera Eddie.’
But as an independent home baker, I like to test things in my own kitchen instead of just taking online advice at face value. During a recent Milestone Birthday Cookie Box project, I ran a side-by-side experiment — and the actual visual results completely shocked me.
The Side-by-Side Experiment: Crusted vs. Overnight Dry
To keep the test completely fair, I used the exact same royal icing batch, the same white-iced square sugar cookie canvas, and the same digital design file from Creative Fabrica.
Cookie A: The 30-to-60 Minute ‘Crusted’ Canvas
I flooded this square cookie canvas with smooth white royal icing and let it sit under my countertop fan just long enough to lose its wet shine and form a stable top crust — about 30 to 60 minutes. Then, I slid it straight onto the printer tray.
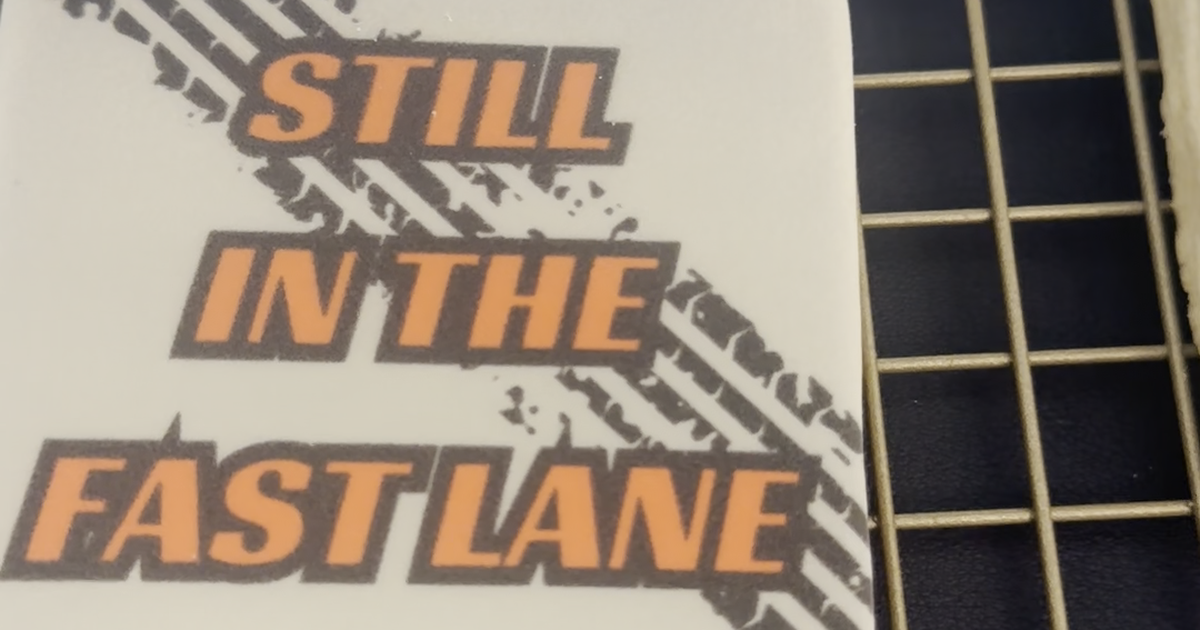
The Result (The Winner!): Absolutely stunning. Contrary to what the forums tell you, printing on a perfectly crusted surface creates a significantly more vivid, rich, and vibrant image. The icing canvas holds the food-safe ink beautifully right on the surface, giving the colors a gorgeous depth that pops on camera.
Cookie B: The 18-Hour ‘Bone-Dry’ Canvas
I flooded this cookie and let it dry completely flat on my kitchen racks for a full overnight crust (18 hours) before hitting print the next morning.
The Result: While the print was sharp, the colors were noticeably more matte and less vibrant compared to the crusted cookie. Because the icing base was completely dehydrated and rock-hard edge to edge, it absorbed the edible ink differently, muting those deep, festive tones.
Kathy’s Real-Baker Workflow for Vivid Prints
If you want your custom printed orders to look like high-end boutique gifts with colors that instantly turn heads on social media, here is my updated real-kitchen production formula:
- The Fan Trick: Always utilize a small, gentle tabletop fan to speed up your crusting window. It locks in a beautiful, smooth sheen, prevents cratering, and creates that perfect stable canvas skin in under an hour.
- Watch the Timing: Don’t let your cookies sit out for days before printing if you want maximum vibrancy. Catching them right when they form that perfect matte crust layer is your golden hour for striking contrast.
- Leverage Your Tech: By letting my Primera Eddie Edible Ink Printer handle the intricate design graphics on a fresh crust, I can produce a breathtaking custom birthday box in minutes rather than spending hours hand-piping tedious layers!
Need the exact nested square shapes I use to create my birthday canvases? Grab my favorite 3-Piece Square Cookie Cutter Set on Amazon to prep your workspace.
For a full, deep-dive walkthrough of my complete digital setup — including how I format custom text overlays — head over to my master guide: How I Print Personalized Cookies with My Eddie Printer.
Happy printing, friends! 💚

Pingback: How to Package & Print Thanksgiving Turkey Cookies (Exact Specs!) - Cottage Baker Supply