
Cookies
How I Package My DIY Cookie Kits (Every Supply I Use)
Oct
As an Amazon Associate I earn from qualifying purchases.
If you have ever wondered what actually goes into one of my DIY cookie kits — and how it all arrives looking this good — here is the full behind-the-scenes look. This is every supply I use, why I chose it, and the mistakes I made along the way so you don’t have to learn the hard way!
What is Inside the Kit Box?
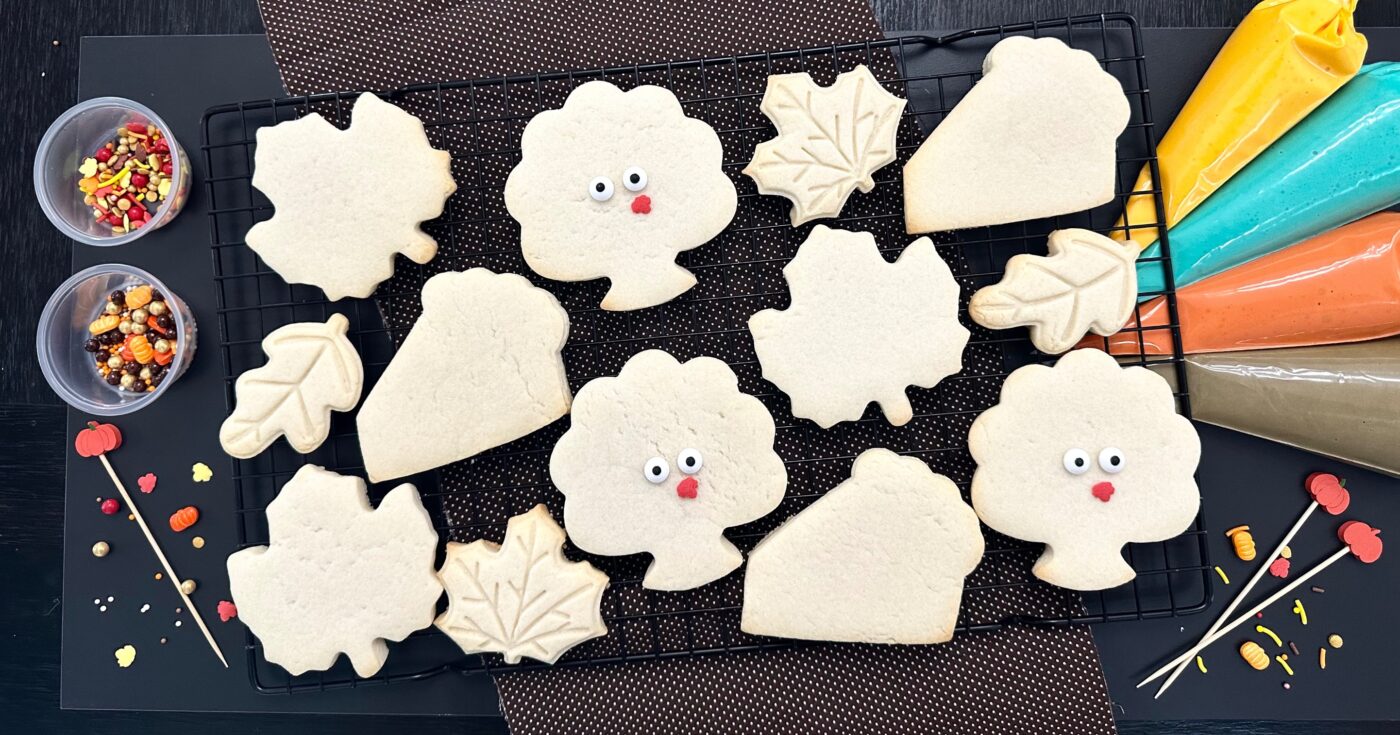
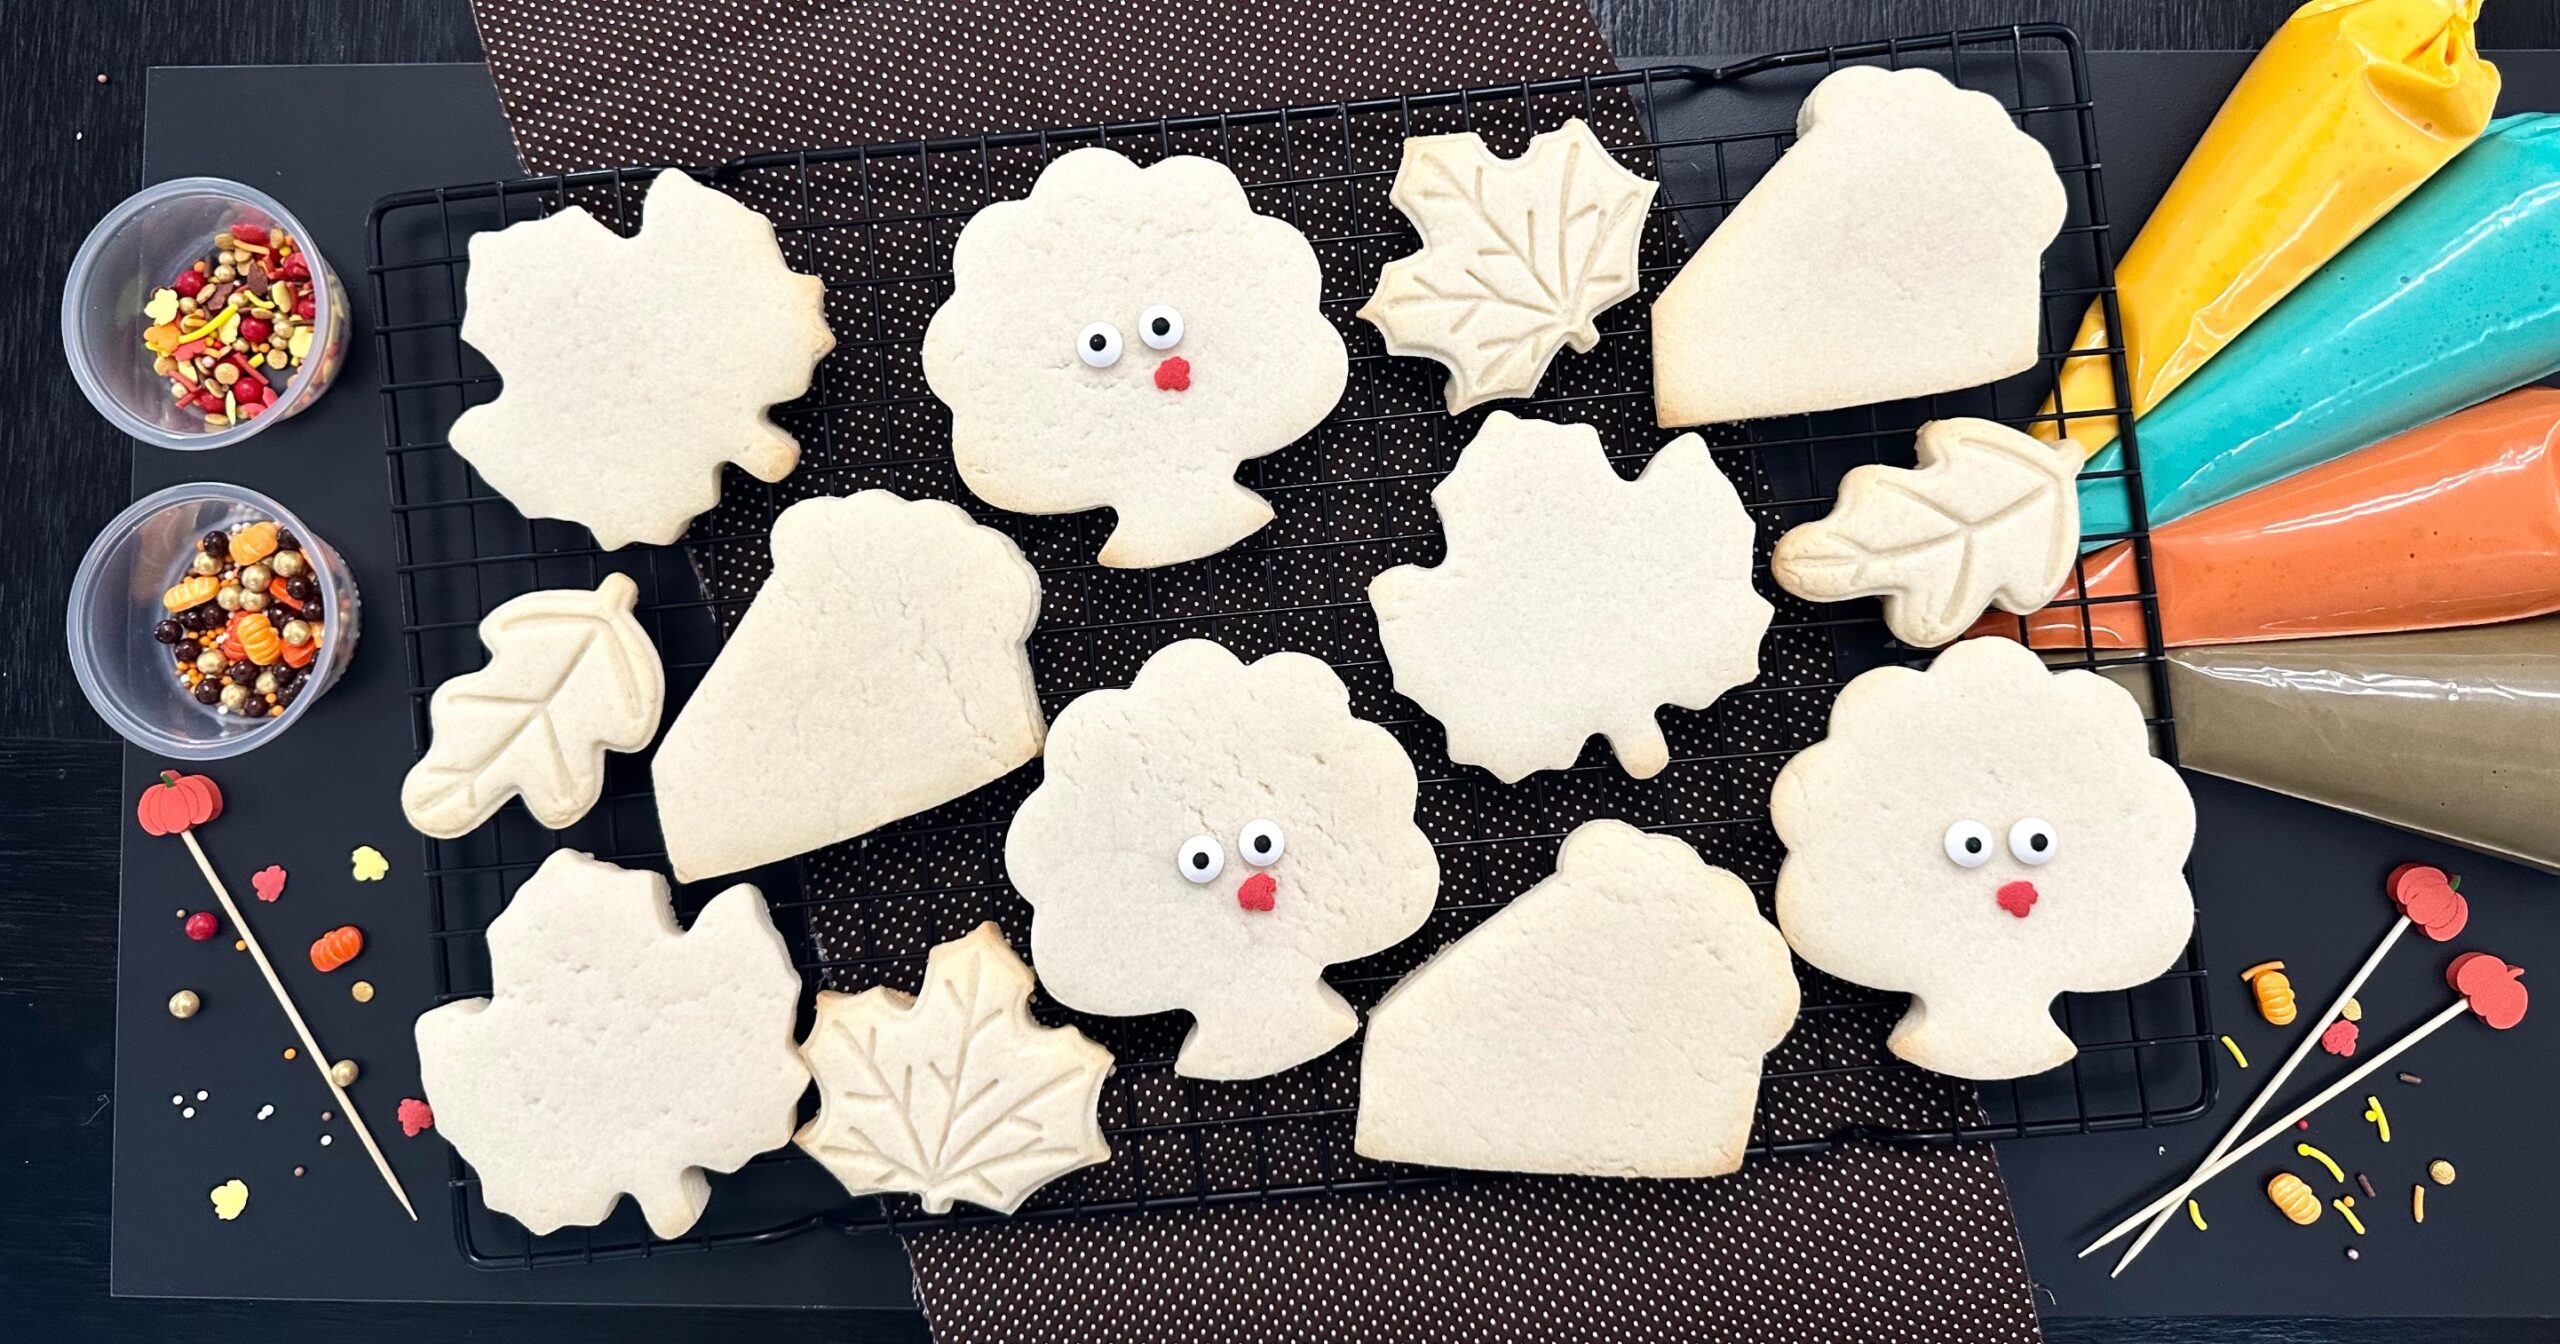
Each kit starts with a dozen undecorated sugar cookies, sealed fresh for maximum longevity. Then comes the fun stuff:
- Colorful Icing Bags: Freshly made royal icing batches in vibrant seasonal colors.
- Sprinkle Containers: I use small, individual cups filled with theme-appropriate sprinkles. My signature sprinkle formula is one sprinkle option for a 4-cookie kit, two options for a 6-cookie kit, and three options for a full dozen kit. This ensures there is plenty to pass around! I use exactly two tablespoons per container.
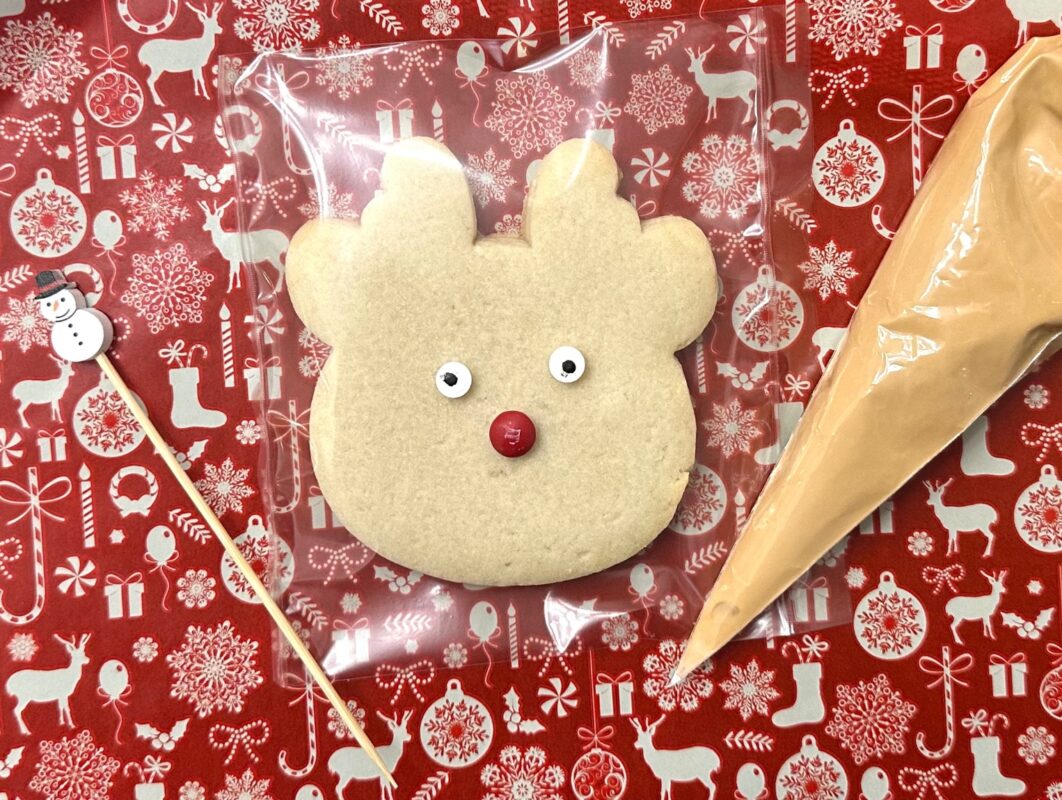
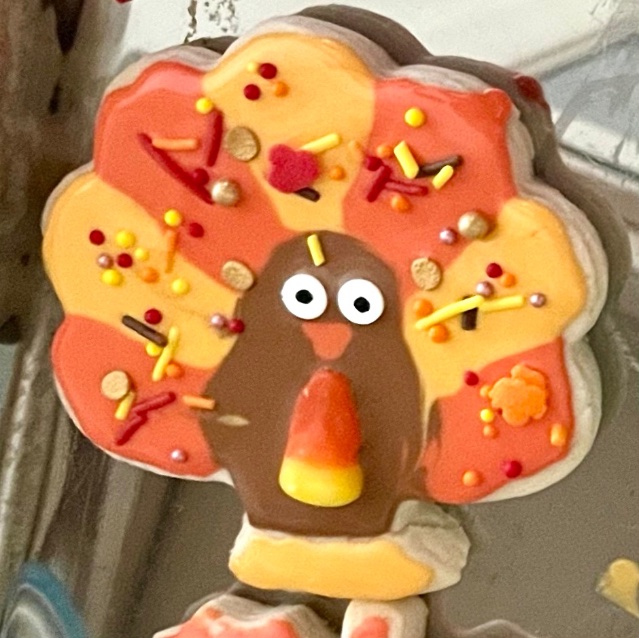
- Candy Eyes: These are the best multi-season purchase I make! One bulk bag of candy eyes covers Halloween pumpkins and zombies, fall turkeys, Christmas gingerbread and snowmen, and even winter reindeer.
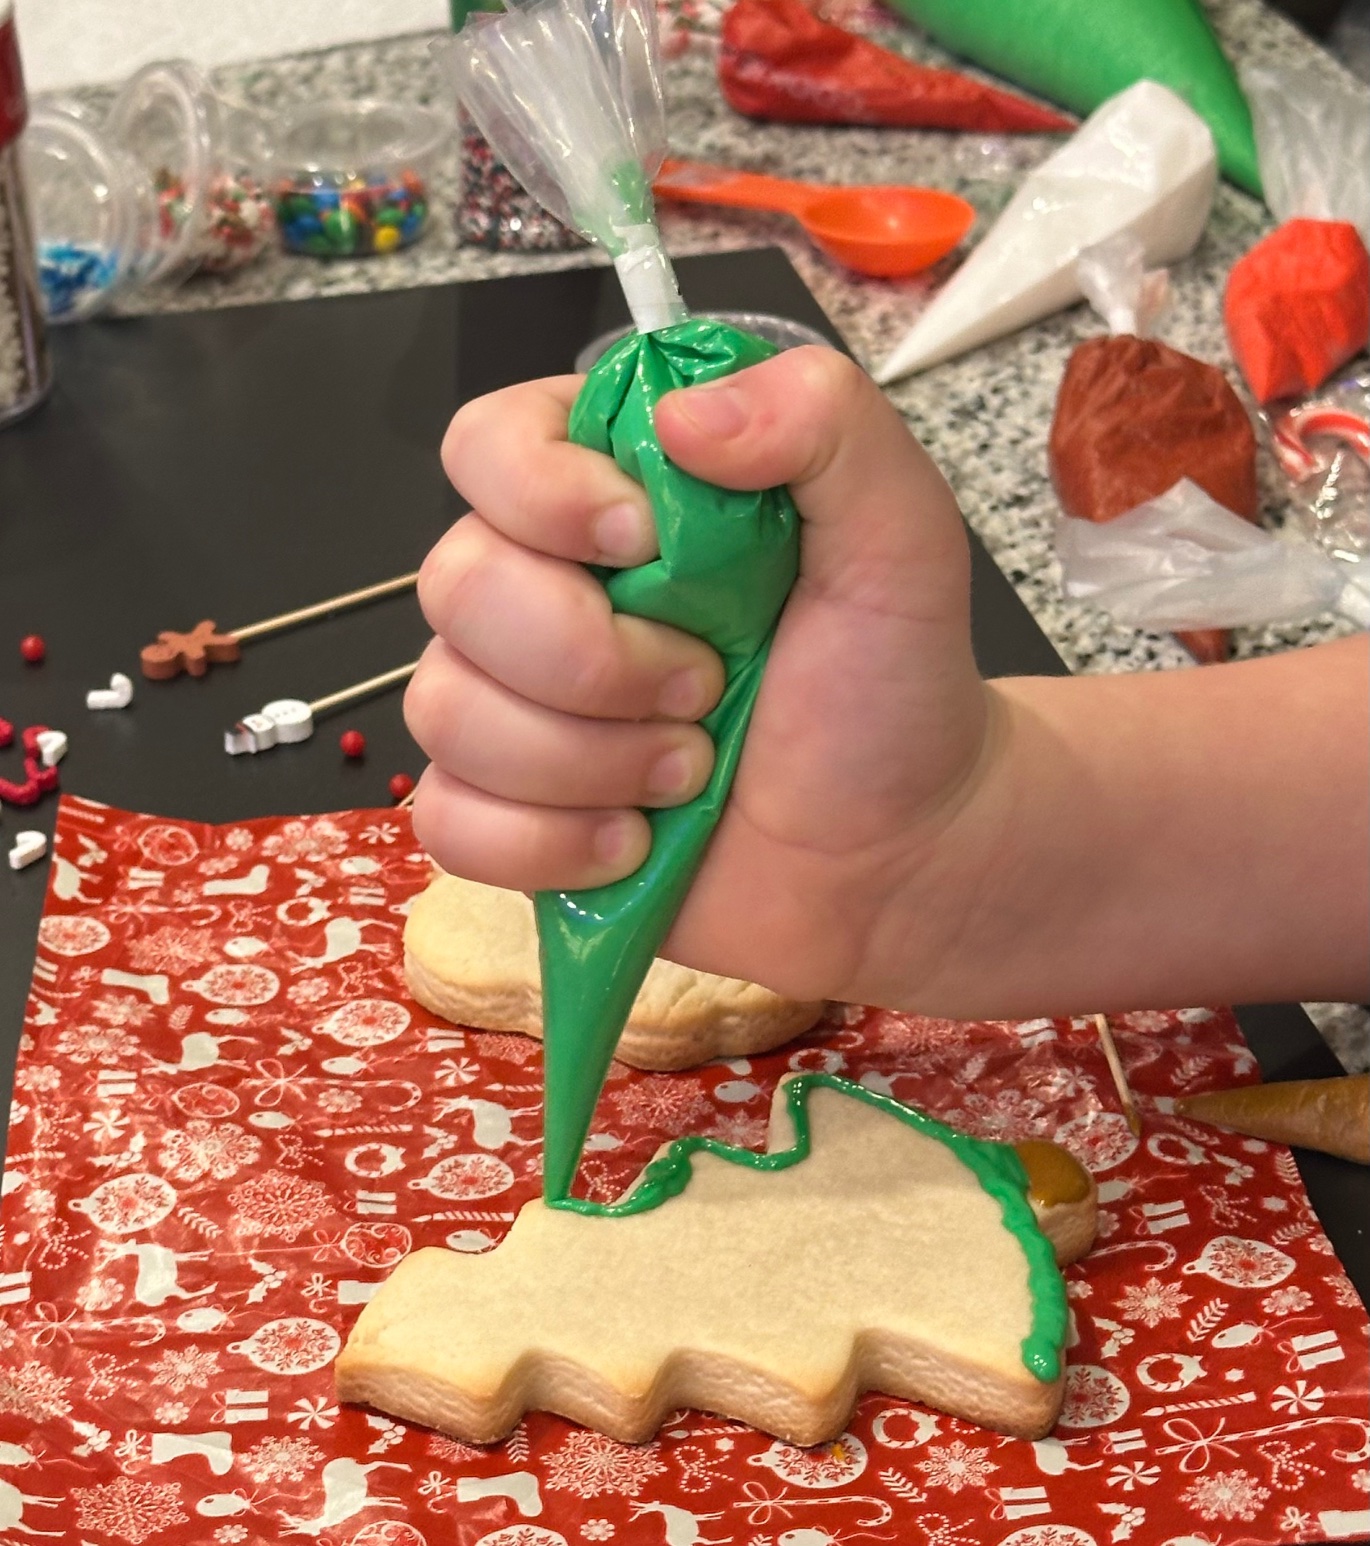
- Cocktail Picks: I toss in two wooden cocktail picks per icing color. They are the absolute perfect tool for spreading icing smoothly and popping stubborn air bubbles — which is way safer than handing a young child a knife!
- Seasonal Extras: For fall kits, I love using candy corn as “turkey beaks” and adding leaf sprinkles as the main decorative option. The kids go crazy for that part!
How I Seal Everything (Two Sealers for Two Jobs)
This is the number one step people get wrong. To be completely clear, I use two completely different bag sealers for two completely different jobs in my kitchen.
1. For the Cookies: The Impulse Sealer
I heat-seal every single undecorated cookie bag using a manual tabletop impulse sealer. Do not use self-sealing adhesive bags here! Self-sealing bags do not get all the air out. They look sealed initially, but air slowly sneaks back in over time and causes your cookies to go stale faster. An impulse heat sealer presses the excess air out and permanently locks the plastic film, keeping your cookies fresh for weeks.
2. For Icing & Bread Bags: The Innoseal Sealer
This quick-seal machine handles all of my icing bags and standard bread dough bags. It provides a fast, heavy-duty tape seal with absolutely no fuss.
⚠️ Important Baker Distinction: I use these specific clear poly packaging bags strictly for DIY kit cookies (undecorated). I do NOT use them for printed or iced cookies — fully decorated cookies require completely different handling to protect the royal icing designs from smudging. Don’t learn that lesson the hard way!
The Box Liner Trick
Here is my absolute favorite packaging detail: I line every single kit box with greaseproof paper liners, and I include 4 individual sheets instead of just one.
Why? Because kids will decorate their cookies directly on top of those liners! It keeps the outer bakery box completely clean, gives the kids a defined, clean workspace, and parents love it because they don’t end up with royal icing stuck to their kitchen table. It is exactly the kind of thoughtful, small touch that clients remember and return for.

The small bags hold the cocktail picks and the custom instruction card. Everything is then packed neatly into a sturdy cake box, tied up securely with rustic baker’s twine, and finished with one of our custom holiday gift tags.
🏛️ Before You Sell a Single Kit
A quick but incredibly important business note: always check your local cottage food laws before you start selling baking kits to the public.
Every state (and sometimes every individual county) has different legal rules about what food items you can safely sell from a home kitchen and how your retail products must be structurally labeled. Your backing stickers must clearly include full ingredient lists, allergen warnings, your official business name, and physical address details.
It only takes an afternoon to look up your local regulations online, and it keeps your dream business completely legal. Don’t skip this step!
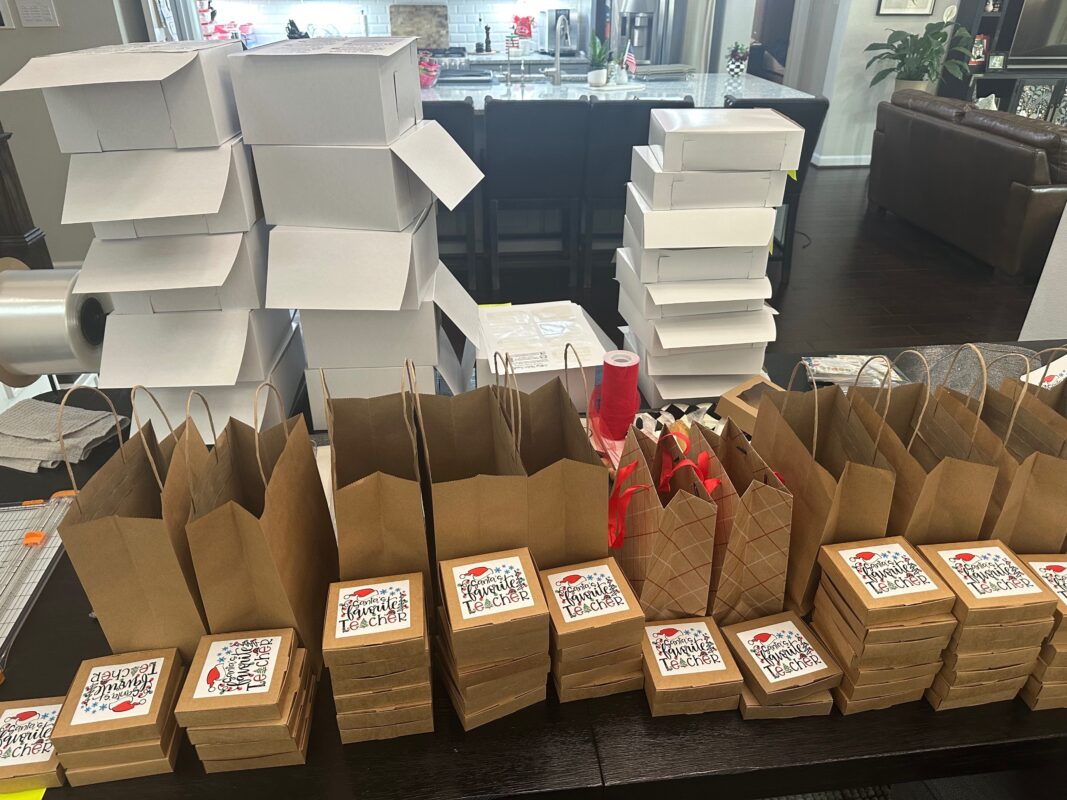
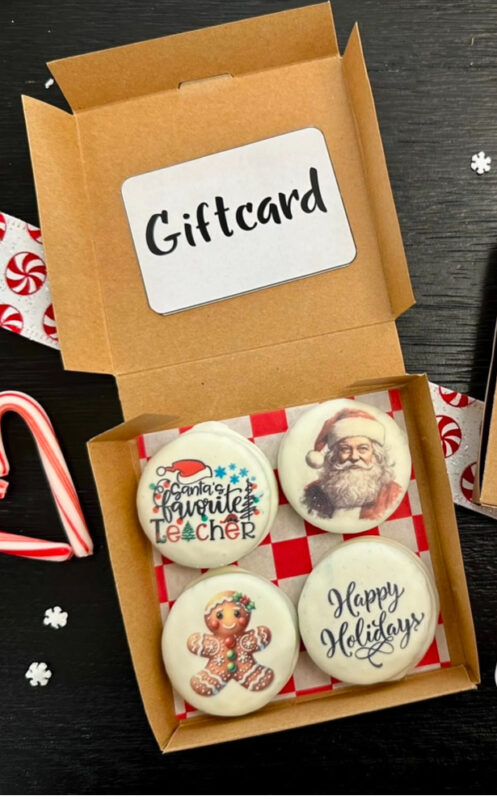
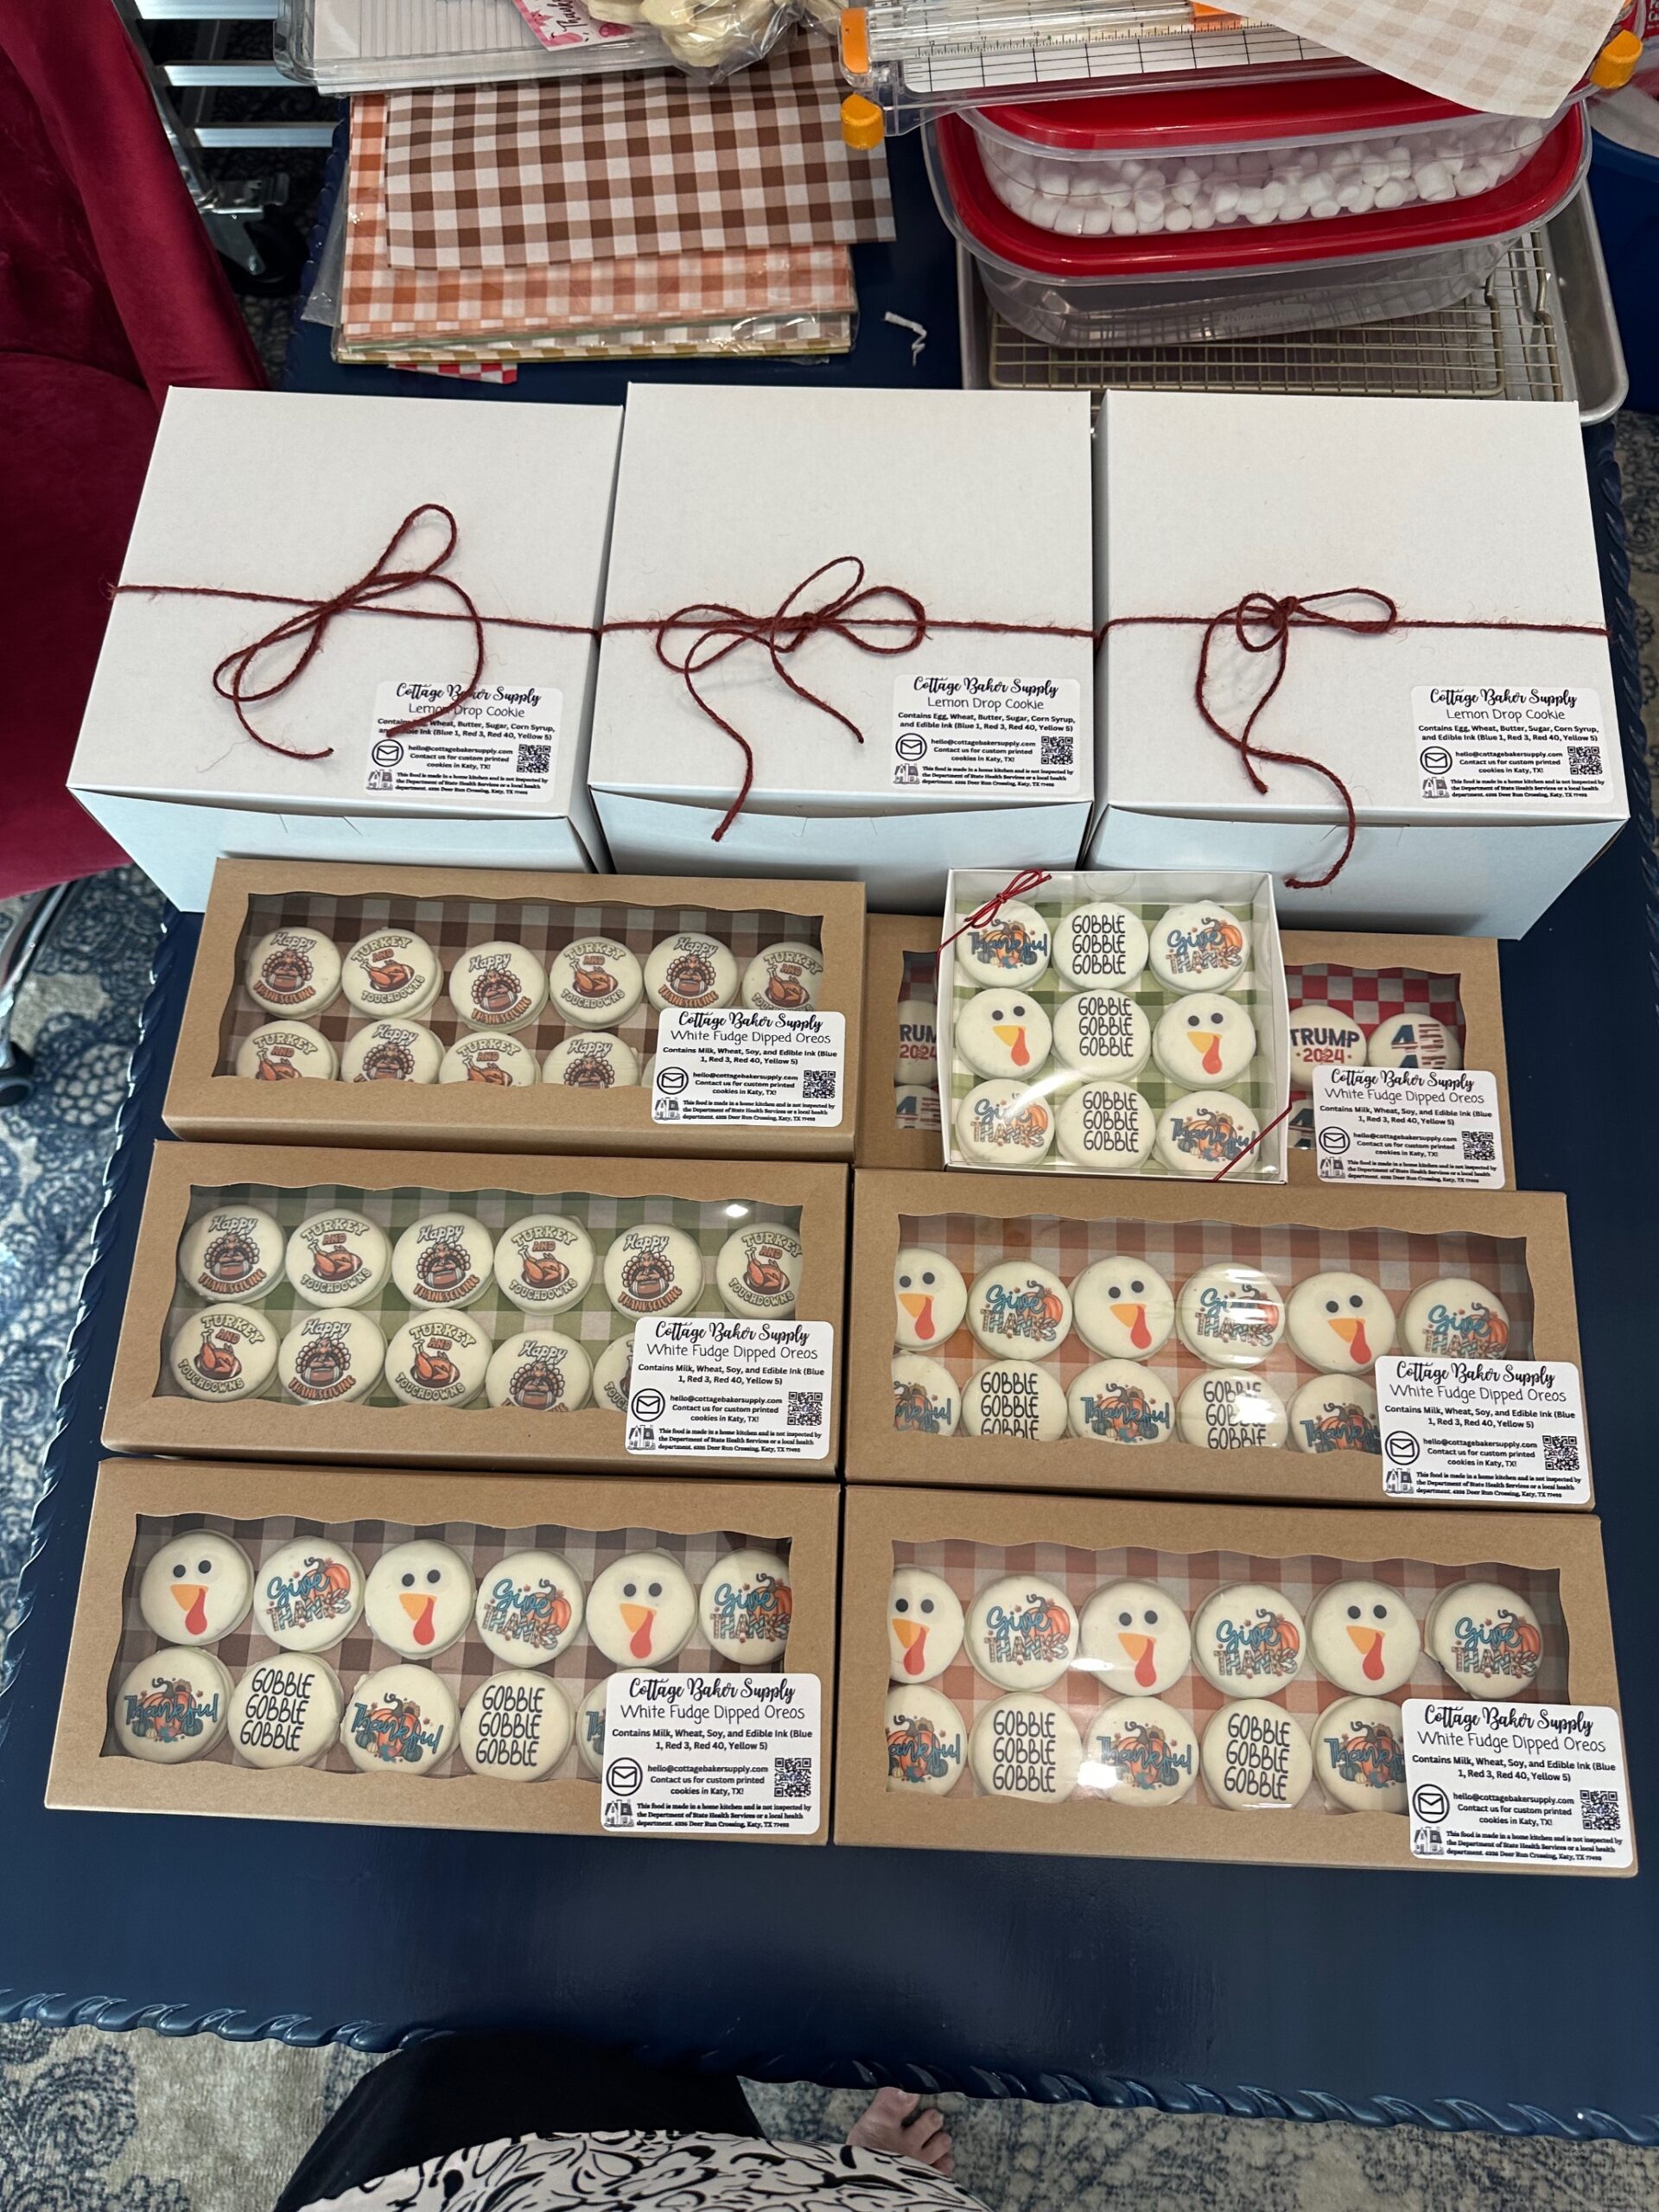
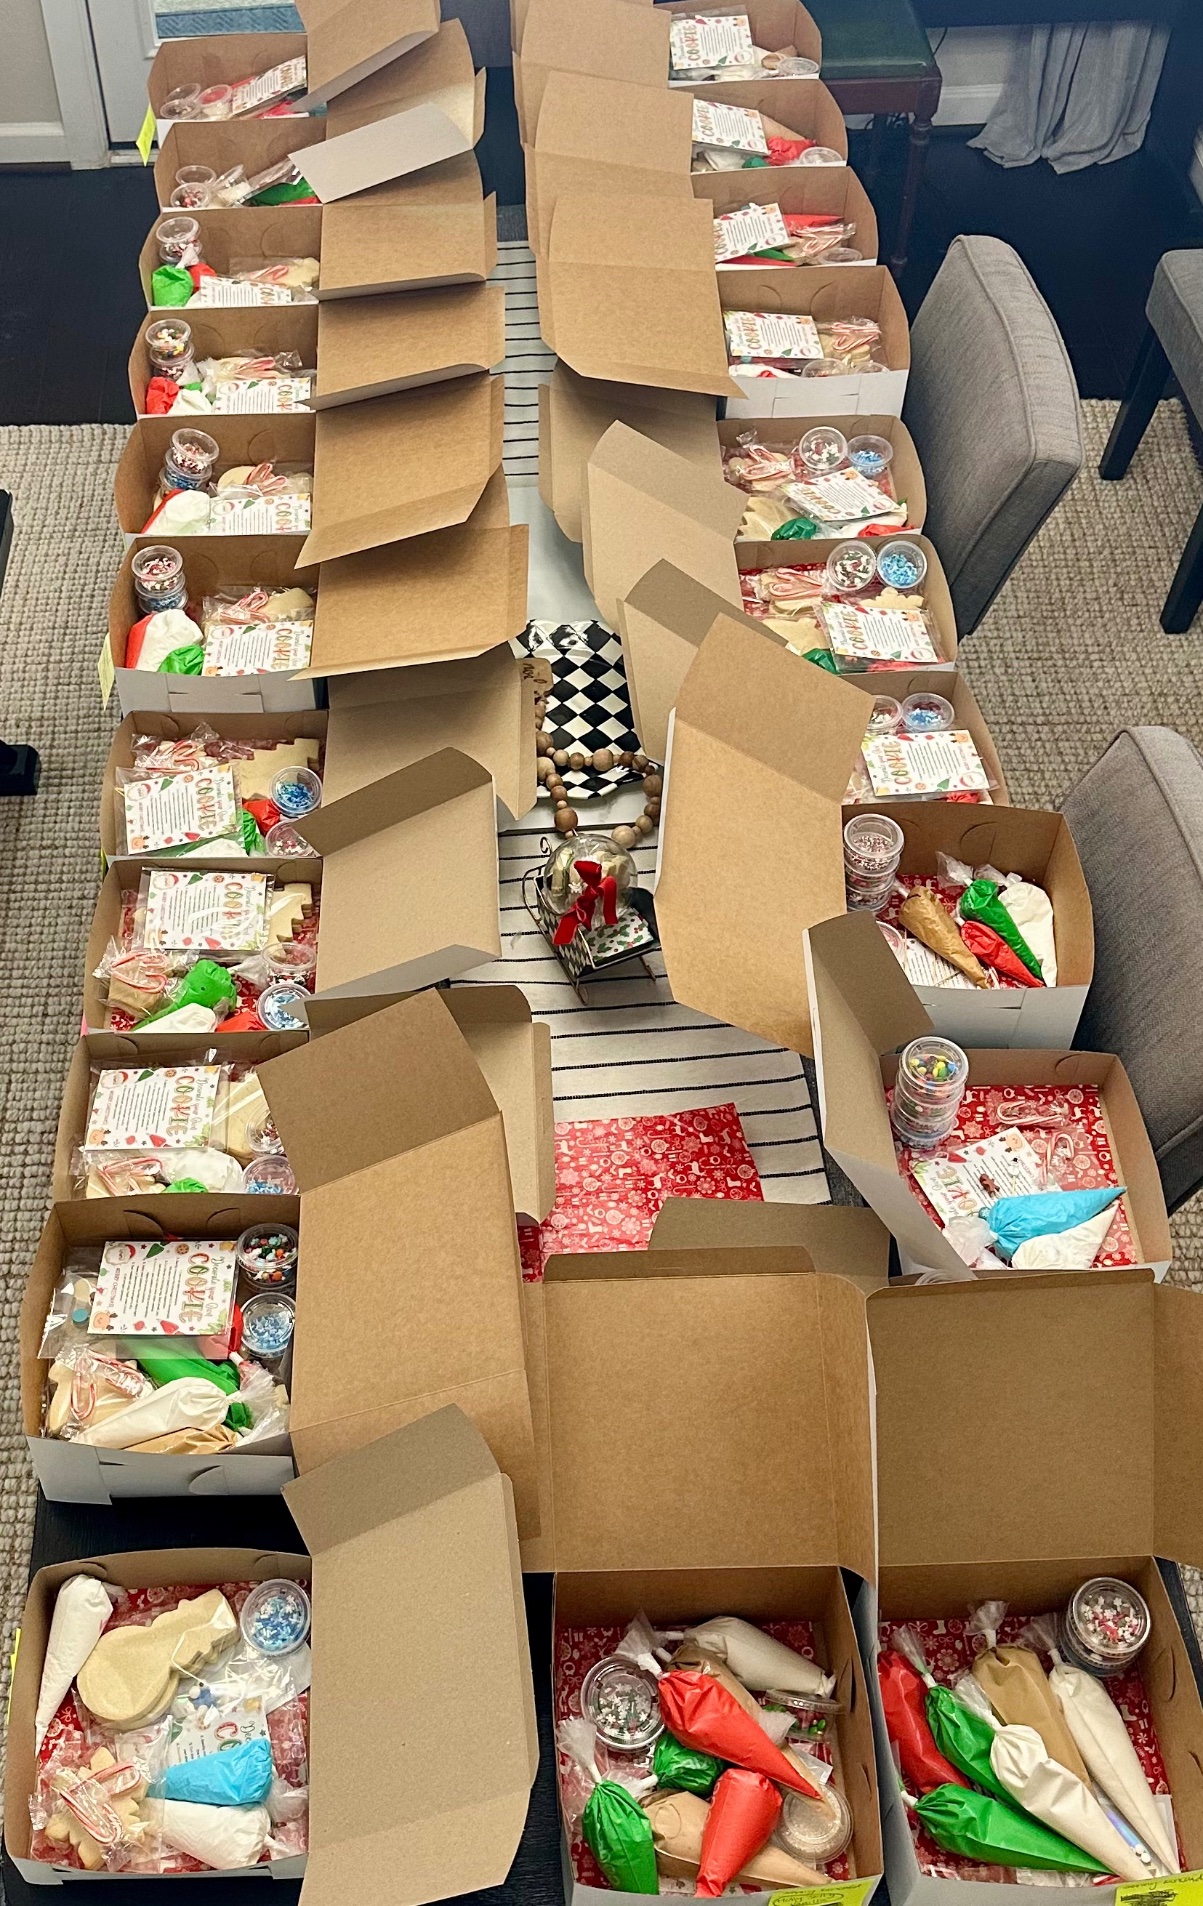
Above is a look at last year’s completed Thanksgiving orders, all beautifully boxed, twined, tagged, and legally labeled. This packaging system works perfectly — seal it right, pack it thoughtfully, label it legally, and your DIY cookie kits will practically sell themselves!
